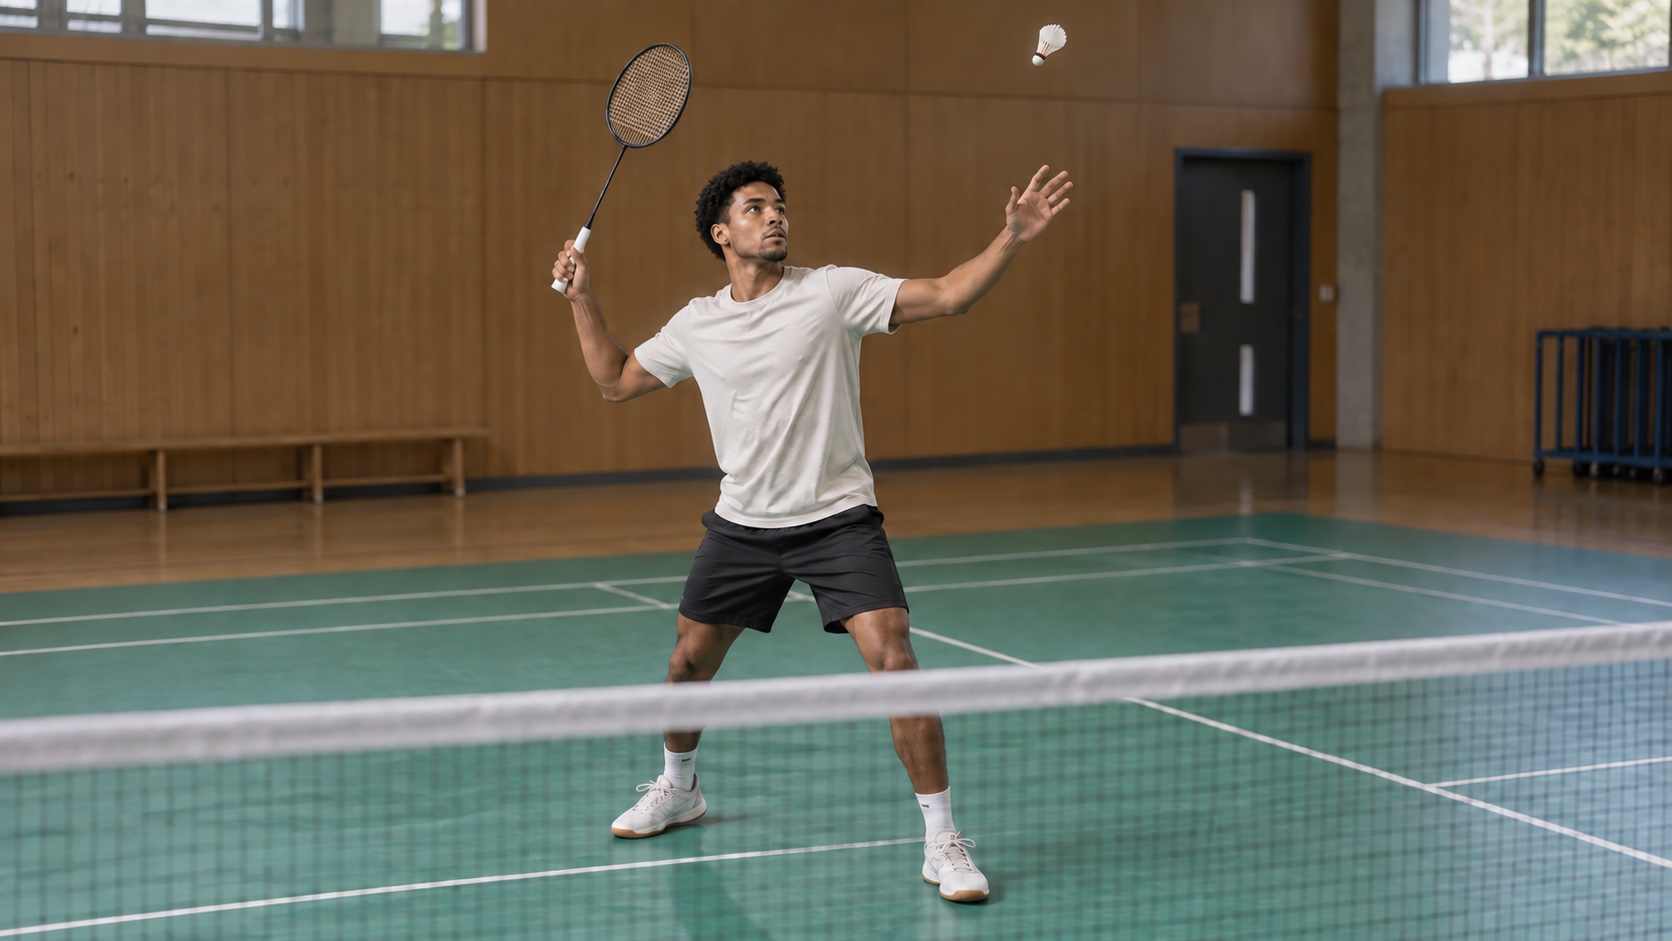
The shuttle arrives high, you swing hard, and the smash flies almost flat. Trying harder on the next feed may leave you reaching backward or losing your balance. Before adding force, check whether you arrived early enough to strike in a comfortable position in front of your hitting shoulder.
This badminton smash training session is for players who already have a basic overhead stroke and want a more controlled attacking shot. The three drills move from preparation to a generous target, then add a small recovery task. Work with a partner and a consistent lift; jump smashes and maximum-speed attempts are not needed for this session.
Arrive before you try to accelerate
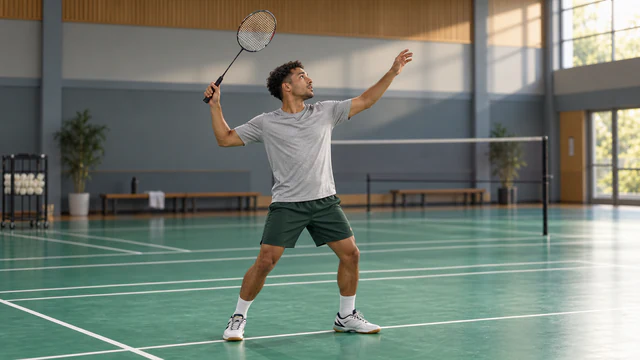
If the shuttle has drifted behind you, forcing the racket downward will not recreate the contact you wanted. Move early enough to organize your body behind the incoming shuttle. Turn into a comfortable sideways preparation, track the flight and leave space for your racket arm.
Begin with a familiar forehand V-grip. Hold the handle securely without clenching throughout the preparation. As you swing, the body and arm coordinate and the forearm turns; the action should not become a forced bend at the wrist. Let the racket continue after contact rather than deliberately stopping the elbow.
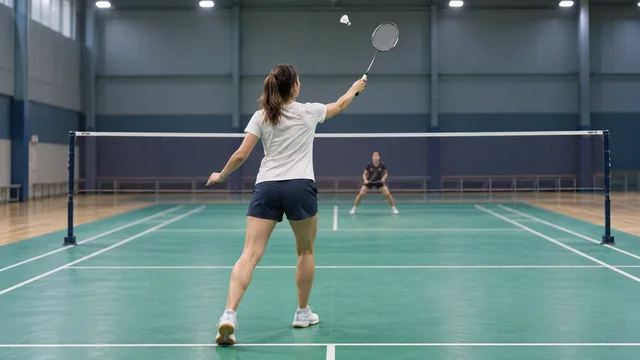
A higher contact in front of the hitting shoulder gives you a useful position from which to direct the shuttle downward. That does not mean locking the elbow, arching the back as far as possible or reaching for a fixed angle. If you cannot make a comfortable overhead action, simplify the feed first.
Choose an achievable target
Place flat markers around a broad landing area on the opposite side, clear of where your partner will move. Start with straight smashes so you have fewer decisions to make. Leave generous space inside the lines; a controlled shuttle landing in the court tells you more than one spectacular attempt followed by several misses.
Use enough pace to make the stroke recognizable while retaining control. A slower smash can still travel downward. You do not need to force every shuttle almost vertically over the net, especially from farther back in the court.
Drill 1: Prepare, swing and regain your balance
The aim: Make room for an overhead stroke without chasing a live shuttle.
- Find a clear area of the court and begin in a relaxed ready position.
- Turn and move into a comfortable overhead preparation as though an easy lift were arriving.
- Rehearse a smooth throwing-like swing, allowing the racket to continue naturally.
- Return to a balanced position with the racket available for the next shot.
Keep this rehearsal short. You are checking whether preparation and recovery fit together, not seeing how forcefully you can swing without a shuttle. Avoid practicing next to a wall that restricts your arm path.
If you finish twisted or have to stumble forward, reduce the effort and try again. Build the live drill around the action you can repeat comfortably. Any discomfort is a reason to stop the exercise, not to force a larger range.
Drill 2: Smash an easy lift toward a broad target
The aim: Match a comfortable contact with a repeatable landing area.
- Ask your partner for a high, predictable lift to your forehand overhead area.
- Move early, prepare and play a controlled straight smash toward the agreed target.
- Allow a pause after each feed so both players can reset and keep the court clear.
- Compare a short set of attempts before making one adjustment.
In badminton smash training, classify the misses. A shuttle that repeatedly travels flat asks you to review the contact location and racket orientation. A shuttle pulled into the net may reflect an attempted angle that is too steep for that contact. A late, awkward feed is a reason to reset rather than prove that you can smash from anywhere.
Ask your partner to keep the lift similar while you experiment. Change either the contact position or the effort, rather than both together. Keep the version that gives you a comfortable strike and a more consistent landing area.
Drill 3: Add a small recovery after the smash
The aim: Finish the attacking shot ready to continue the rally.
- Keep the same lift and straight-smash target.
- After the smash, recover your balance and make the racket available in front.
- Let your partner add an easy block only when the smash is controlled enough to return safely.
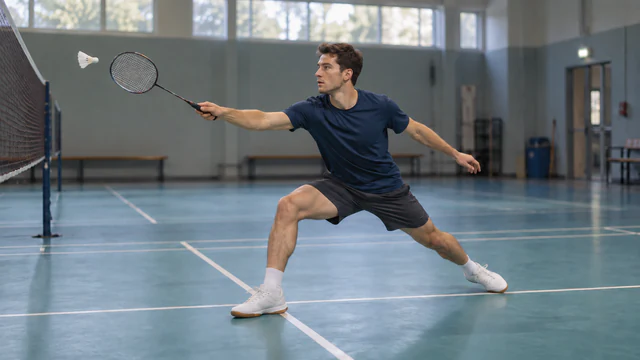
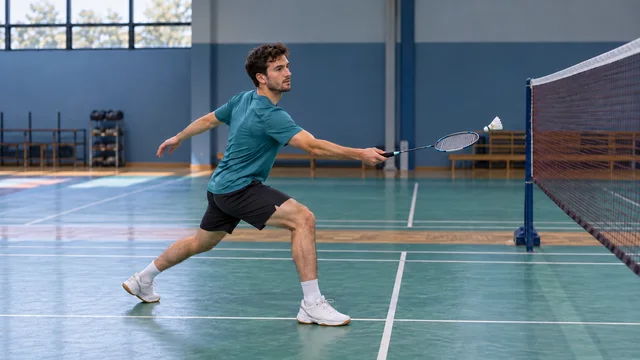
- Move to the block and play a simple reply, then stop and reset.
The added shot makes recovery visible. If you admire the smash and stand still, the block exposes the delay. If you throw your weight forward before seeing the reply, it becomes harder to adjust. Let the next shuttle determine the movement rather than rushing blindly toward the net.
There is no mandatory landing foot for every smash. Your approach, handedness and chosen movement affect the finish. For this drill, the useful test is whether you land or settle with control and can move again.
Add power after the shape holds
Return to the single-feed drill at the end of badminton smash training. If preparation, contact and landing remain dependable, try a small increase in pace. If the shot immediately becomes flat or erratic, return to the manageable version and work on arriving earlier.
Take one observation into your next session. “I meet the shuttle farther in front when I prepare earlier” is more useful than “I need to hit harder.” A controlled attacking shot gives you something to build on when the feed becomes less predictable.